> For the complete documentation index, see [llms.txt](https://next-docs.cloudio.io/llms.txt). Markdown versions of documentation pages are available by appending `.md` to page URLs; this page is available as [Markdown](https://next-docs.cloudio.io/app-deployment/configure-sso/saml/saml-okta.md).
# OKTA
**Step 1 - Configure OKTA App**
1. Log in to Okta Developer Console
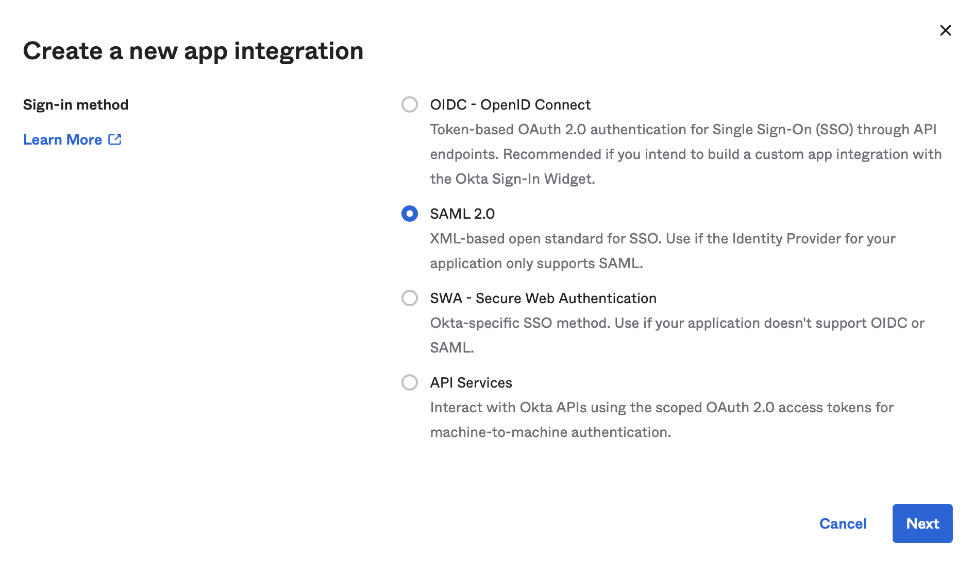
2. On the New App Integration wizard, select SAML 2.0.
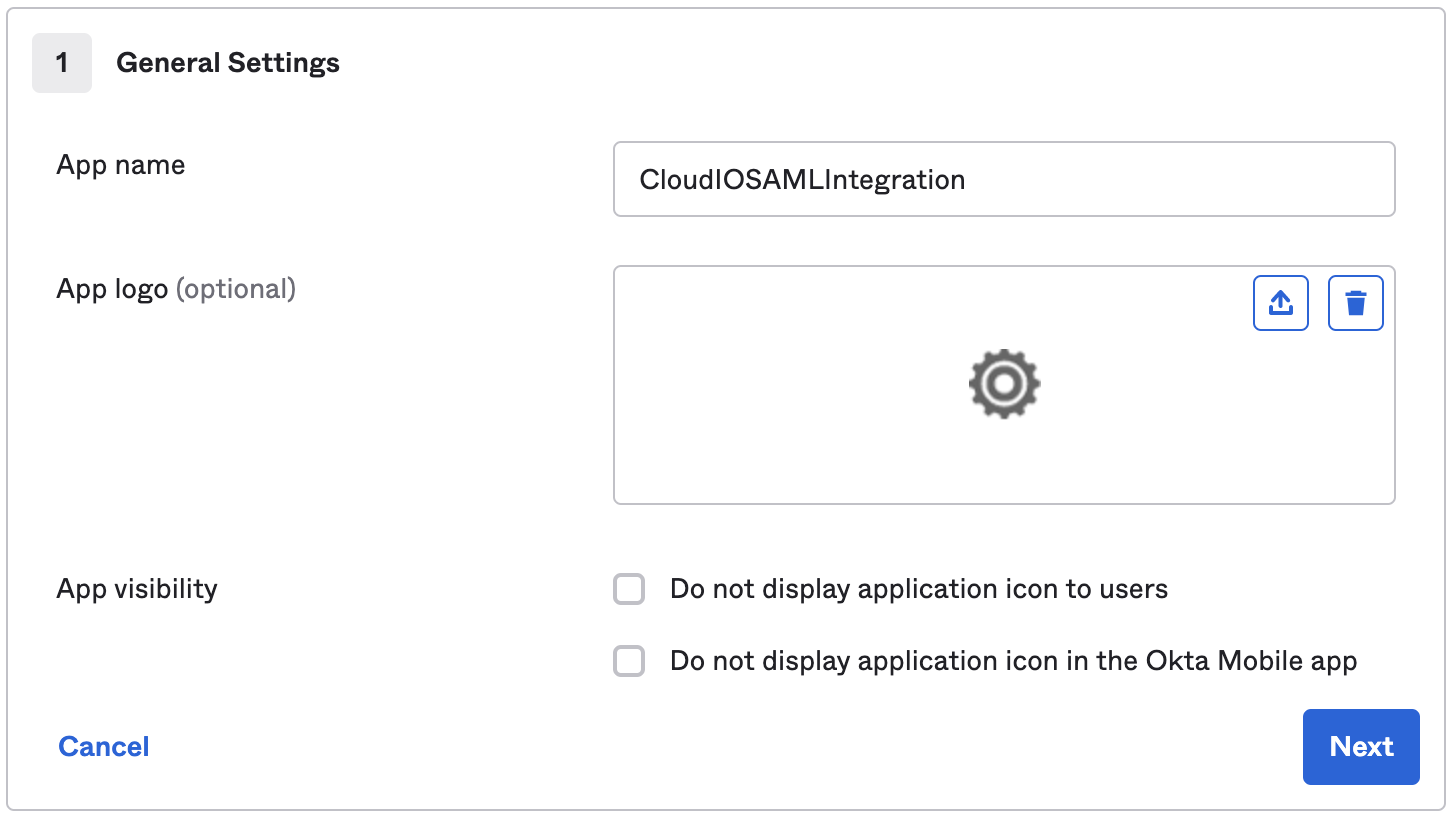
3. Set a name.
4. Add the Single sign-on URL and Audience URI. (Unique Identifier)
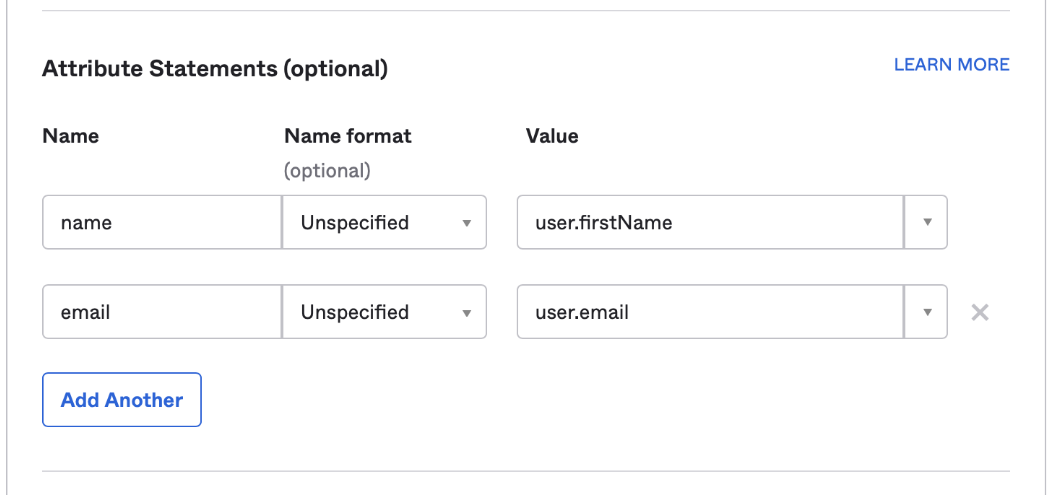
5. Define the Attribute Statements. Okta says this is optional, but we need to set up these attributes to get access to the user's name and email when they authenticate on CloudIO.
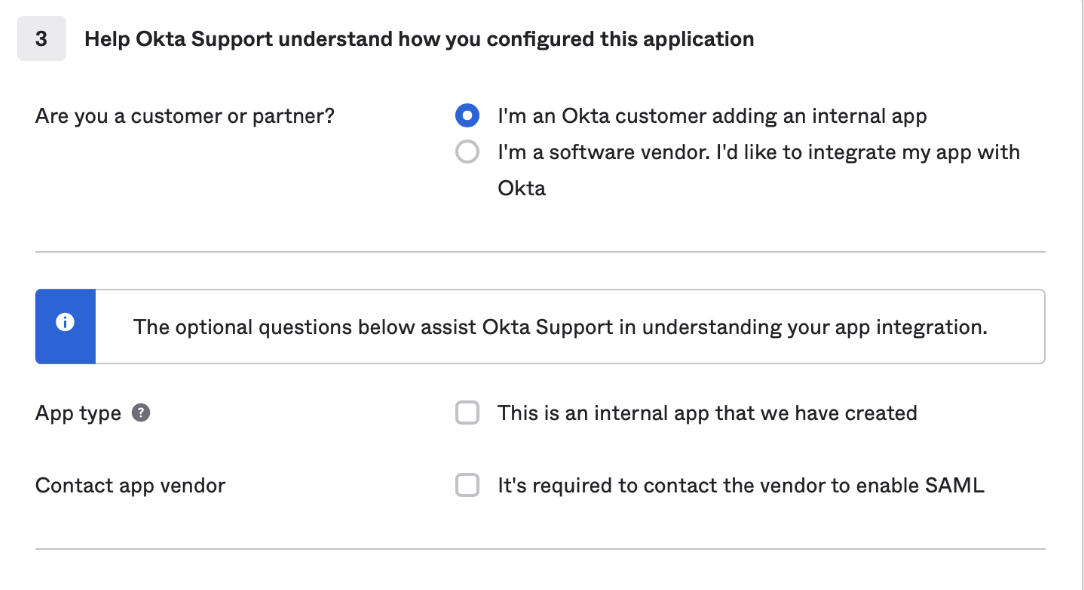
6. Mark the App Integration as internal.
7. The App Integration was created and we need to retrieve IDP Metadata to finish the setup on CloudIO. Scroll down, and click on the View SAML setup instructions link. Copy the IDP metadata.
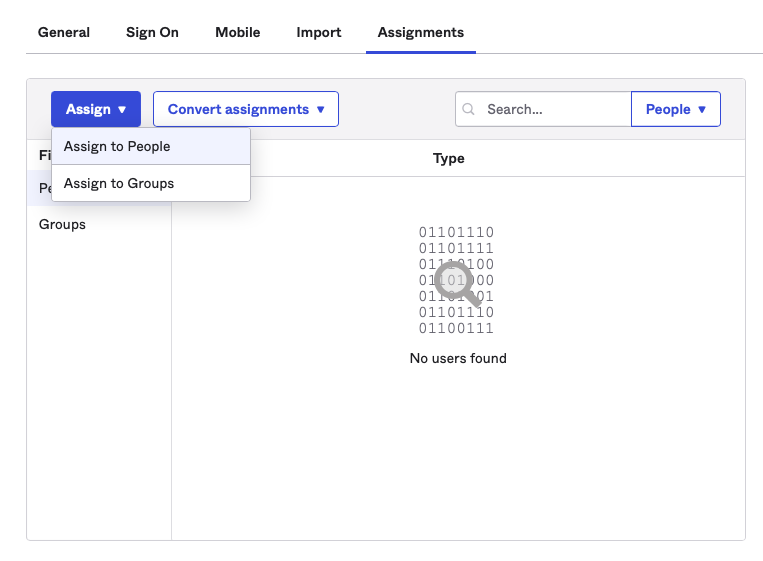
8. Assign users/groups that can use the app, otherwise, they won’t be able to get authenticated through it.
#### **Step 2 - Configure OKTA Details in CloudIO**
1. Login to CloudIO and navigate to the settings tab.
2. Select SAML Auth provider and configure the below details from Step 1